Introduction
I do model rocketry with my son, Leon. He has enjoyed the fire, noise and setup since he was 3. I think it’s a good activity to introduce him to STEM over time. Since starting, I have always wanted to know how far up our rockets went. There are commercial altimeters, which are very practical and rocket-proven. However, where’s the fun when it’s all already made ?
Therefore, I decided to see how quick of a hardware setup could be done to get an altimeter fitted in one of my model rocket’s payload bay.
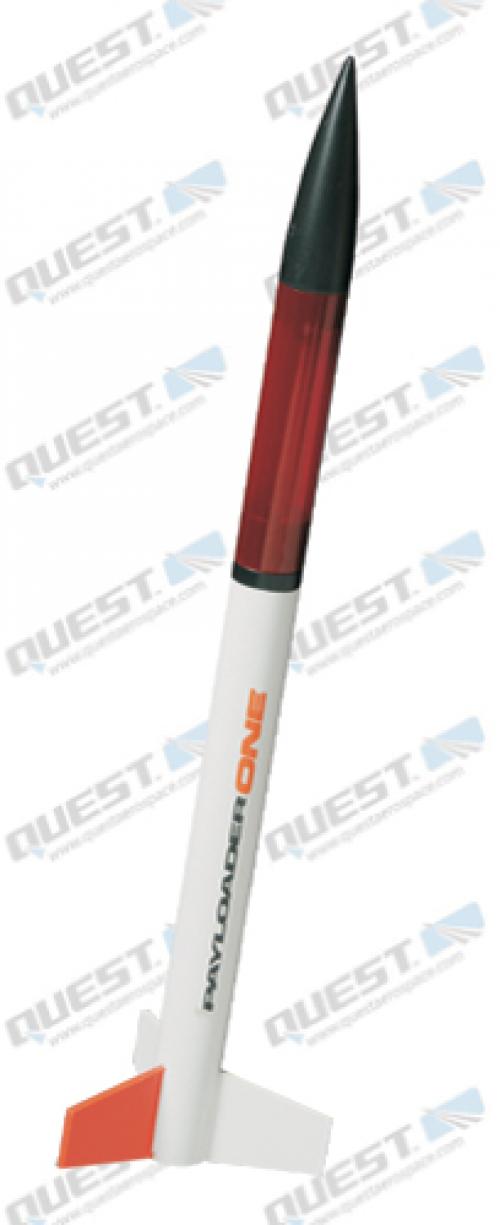
My current payload-able rocket is a Quest Payloader ONE. It was an easy build and is big enough to fit a Lego minifig, which Leon really enjoys.
A while back, I had started design on a full socket inertial computer with 9DOF IMU and pressure sensor for altitude, all processed by an ARM Cortex M3 MCU. It turns out I don’t have enough spare time at home to get back to this large of a project 🙂 Maybe when Leon is older… In the meantime, I thought I’d start with off-the-shelf components.
The requirements for the rocket altimeter are as follows:
- Low-cost
- Barometer-based: use absolute pressure to .
- Highest resolution and accuracy possible at low cost
- Powered by a rechargeable battery
- Uses only COTS modules
Design
The design is based on three Adafruit modules:
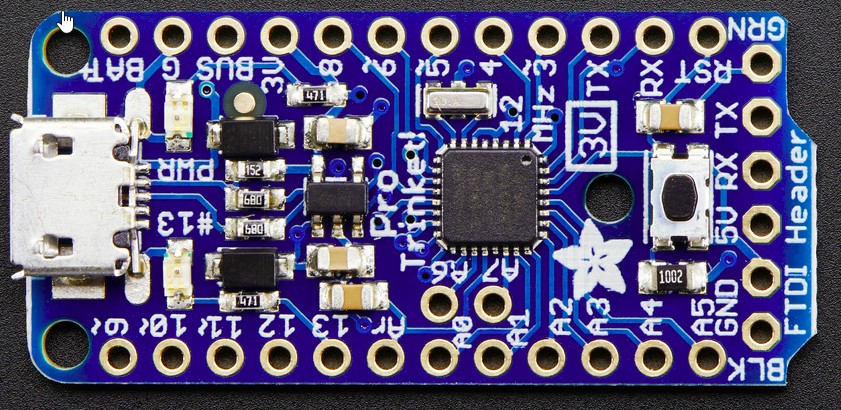
- Trinket Pro 3V: Miniature ATMega328-based Arduino Uno clone
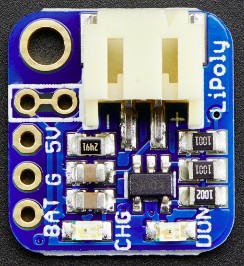
- Trinket LiPo backpack: Charger and connection break-out to power the Trinket Pro from a LiPo recheargeable battery
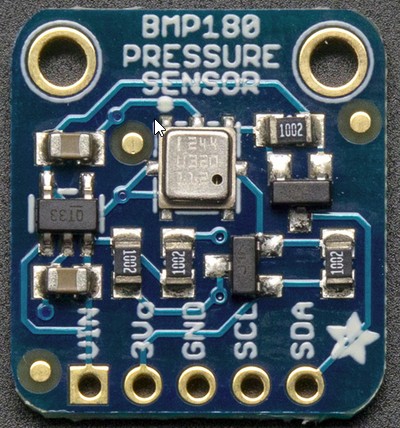
- Bosch BMP180 breakout board: High-resolution miniature absolute pressure sensor (barometer) with I2C interface
The whole thing is powered by a SparkFun 3.7V LiPo battery.
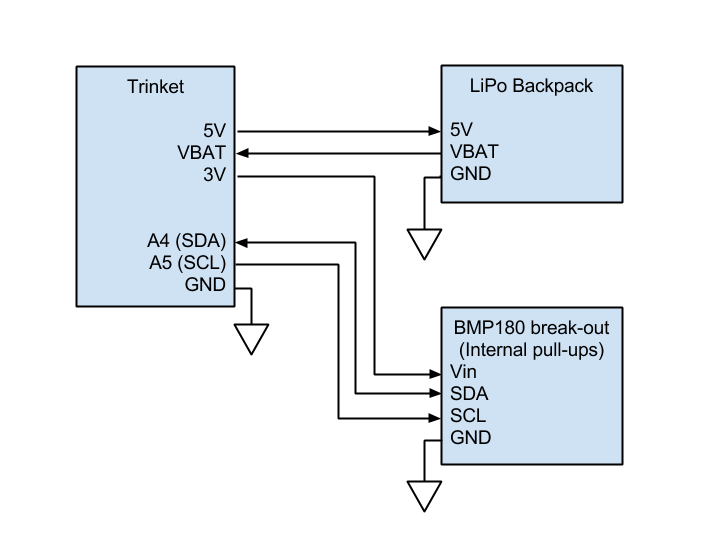
The design is trivial:
- Battery and LiPo backpack power the Trinket
- BMP180 is connected by I2C to Trinket
- Reset button clears the run
- Trinket computes altitude
- LED on Trinket will give-out coded altitude
To read-out the altitude, I plan to make a phone app that uses the camera and image processing to decode an encoded data representation formed by LED blinks. This way, I do not have to take the altimeter outside the body to read-out with wires, or add a bluetooth or other radio that is heavy and power-hungry. On the upside, doing image processing is fun 🙂
The basic block diagram is as follows:
Assembly
Once I got the parts, assembling them took about 30 minutes. A few headers, some 30AWG wire and we’re done.
Here is what it looks like before being fitted in the rocket:
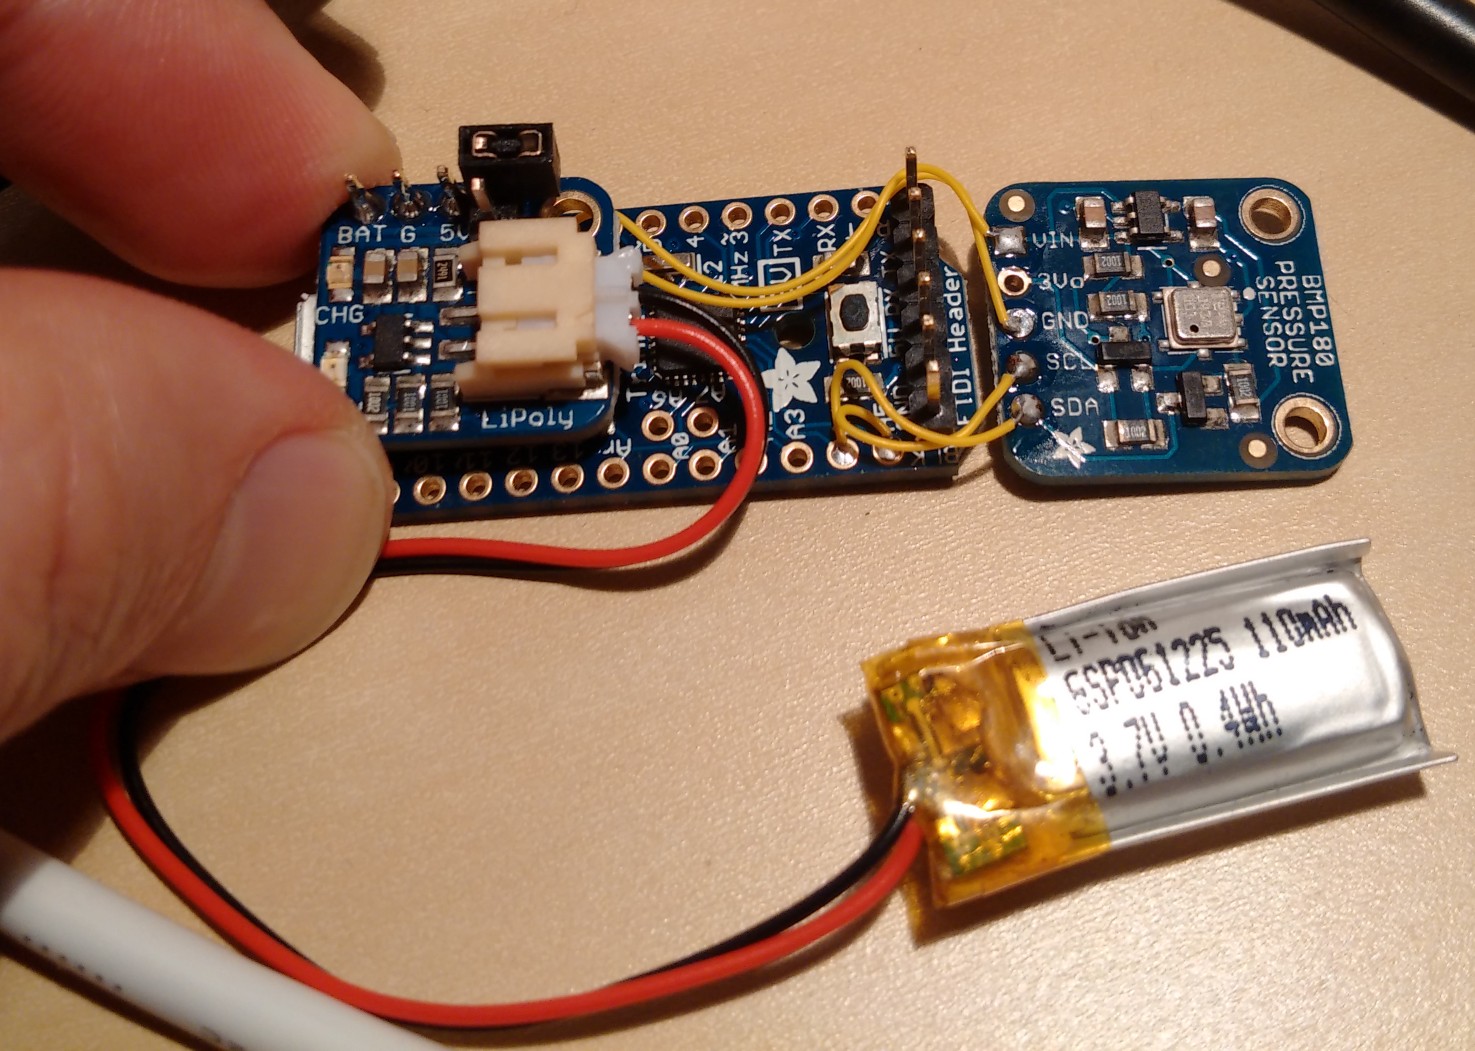
The switch area of the LiPo backpack is fitted with a mini 0.1″ jumper, to be used as a power switch. Connecting the Trinket Pro 3V by USB recharges the battery. The LED on digital pin 13 is visible if looking sideways at the board.
It’s that easy! Now, I just need to program the firmware, mobile device app and build the frame to hold it in the rocket 🙂 A few weeks of work ahead at 3 hours per week!
The mechanical design of the frame to hold it in the rocket and the software will be described in my next posts.
That is great! My older son, Xavier, began to program using a RedBoard form Sparkfun. It’s an Arduino Uno clone as well. It is also my objective to introduce him to STEM and those little boards are great at this! We were recently trying to find a cool project that is affordable and yours seems pretty nice. Keep us posted!
The BMP180 is really cheap and does both absolute pressure and temperature. The temperature range is only fully accurate between 0-65C, although it can measure lower than that. You could use it to make a basic weather station that measures temperature and atmospheric pressure. The sensor just needs to be outside and away from direct sunlight. Once that works, tons of questions arise: how to make it measure humidity, can we make one that also works in the cold, how does it measure pressure ? I hope you guys have fun!
Looks like a great project. Did you finish it? I would be very interested in seeing the code you wrote for a similar project I am working on